What You'll Need:
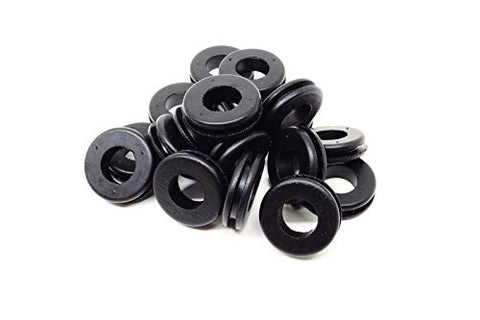
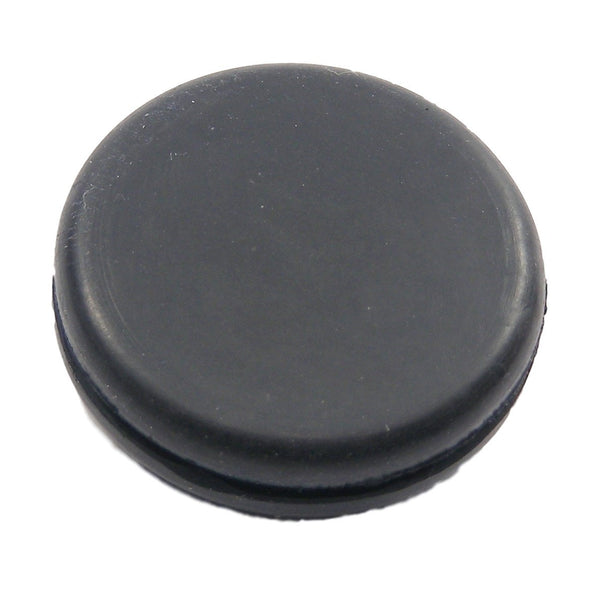
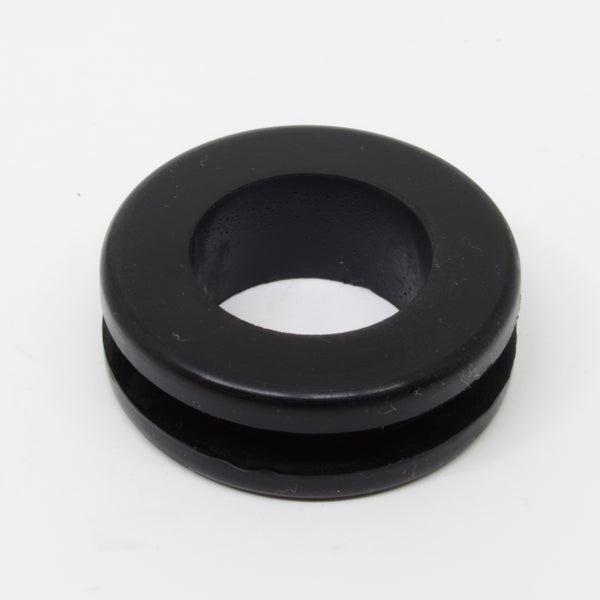
- Rubber grommet suitable for your panel’s hole size and thickness.
- Drill with the correct bit size or an existing panel hole.
- Marker or pencil.
- Ruler or measuring tape.
- Utility knife (optional, for adjustments).
- Lubricant (optional, for tighter fits).
- Cable, wire, or tubing to pass through the grommet.
Step 1: Choose the Right Grommet
Before beginning, confirm the rubber grommet is appropriate for your project. The key specifications to check include:
- Hole Diameter: The grommet must fit snugly into the pre-drilled hole.
- Panel Thickness: Match the groove width of the grommet to the thickness of the panel for a secure fit.
- Inner Diameter: Ensure the grommet has a large enough ID (inner diameter) for the wire, cable, or tubing you plan to pass through.
Rubber grommets often come with groove widths designed for thin panels (1/16") or thicker panels (at dangoodbuy, we have up to 9/16"). Be sure to match the groove width with the panel for optimal installation.
Step 2: Prepare the Panel Hole
If your panel does not already have a hole, you’ll need to drill one.
- Mark the Position: Use a marker or pencil to outline where the grommet will be installed.
- Select the Drill Bit: Choose a drill bit that matches the grommet’s required hole diameter (e.g., for a grommet fitting a 7/16" hole, use a 7/16" drill bit).
- Drill the Hole: Ensure a clean cut by drilling slowly, especially in metal or thick materials. For thinner panels, apply light pressure to prevent bending.
- Smooth the Edges: Use sandpaper or a utility knife to remove sharp edges or burrs, which can damage the grommet or the wire.
Step 3: Insert the Rubber Grommet
Now that the hole is ready, you can install the grommet.
- Align the Grommet: Position the grommet groove over the edge of the hole.
-
Push in the Edges: Use your fingers or a blunt tool (like a small flat edge screwdriver or a plastic card) to press the grommet’s edges into the hole.
- Start at one side and work your way around, ensuring the groove sits flush against the panel.
- Check the Fit: Ensure the grommet is securely seated and evenly aligned, with no gaps or bulging edges.
For thicker panels:
If the panel is thicker than the grommet’s groove width, you may need to trim the panel or use a custom-fit grommet.
For thinner panels:
If the panel is too thin for the groove width, the grommet may shift or not hold securely. Consider using adhesive or a grommet designed for thin materials.
Step 4: Pass the Wire, Cable, or Tubing
Once the grommet is installed, you can pass your wire or tubing through.
- Lubricate if Necessary: Apply a small amount of lubricant, such as soapy water, to the inner edges of the grommet to make insertion easier if passing wire through a tight inner diameter.
- Feed the Wire: Gently push the wire, cable, or tubing through the grommet. Avoid using excessive force to prevent damaging the material.
- Position the Wire: Ensure the wire is centered within the grommet to maximize protection from abrasion.
Step 5: Test the Installation
After installation, inspect the setup to ensure it’s secure:
- Check for any loose edges or improperly seated grommet sections.
- Ensure the wire or cable has enough slack and is not under tension.
- Confirm that the grommet is securely seated in the hole without shifting.
Tips for a Successful Installation
- Tight Fit: A tight-fitting grommet reduces vibration and ensures the wire stays in place. If the fit feels too loose, try a slightly smaller hole or use adhesive for additional support.
- Proper Hole Size: Always double-check the hole diameter before installation. Drilling the wrong size can lead to a poor fit or require rework.
- Panel Material: Rubber grommets can be used on metal, plastic, or wooden panels. For softer materials like wood, ensure the hole edges are smooth to avoid tearing.
- Temperature Range: Ensure your grommet material is suitable for your operating environment. For example, SBR rubber grommets typically function between -30°F and 170°F.
You only need to use the steps that fit your project. For example, if you just want to pass some ethernet cables through a hole in the back of a cabinet, you don't have to be as intricate as our instructions state, so follow the instructions best for your project.
